3. Photos, galleries and the logo
Add a logo, a front-page photo, and a gallery of quilts.
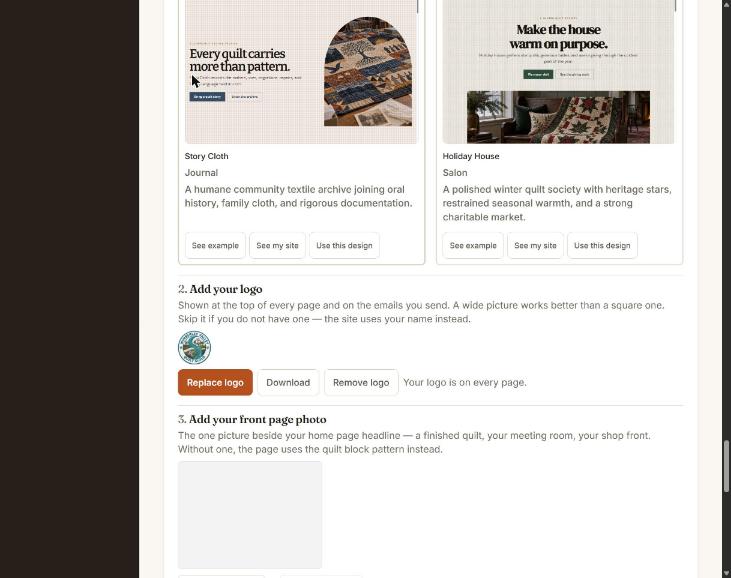
Add the logo
- Website → Design → Add your logo. (Settings → Public profile → Upload logo is the same logo.)
- Choose a PNG or JPEG. Any size — it is resized for you.
- A wide wordmark reads better in the header than a tall badge. The header shows it about 44 px tall.
Replace logo, Download and Remove logo sit beside it once one is uploaded.
Add the front-page photo
- Website → Design → Add your front page photo.
- Press Upload a photo. A landscape photo works best — it is cropped to fit.
- A finished quilt, your meeting room, a smiling table of members. Not a logo.
Without one, the page uses the quilt-block pattern instead. That is fine as a placeholder.
Put a photo in a section
- Open the page with Edit and click the section.
- On the Style tab (or Content, for a gallery or card) press Upload image. Choose from library reuses one you already uploaded.
- Set the Focal point — click the face or the middle of the quilt. That is what stays in frame when the picture is cropped. The 16:9 and 1:1 previews show the crop.
- Write the alt text: one sentence saying what is in it. “A red and white log cabin quilt on a porch rail,” not “quilt photo.”
- Publish the page.
Make photos move by themselves (slideshow)
A Photo gallery section can show its photos as a slideshow that moves along on its own — handy for “what happened at our last meeting” on your home page.
- Make a gallery for the photos. Turn on Photos first if you do not see it (Settings → Advanced → Show advanced features), then add a gallery such as “Show and Tell” and add your pictures.
- Edit the page with the photos and click the Photo gallery section.
- On the Content tab set Layout to Slideshow (moves by itself), and choose the gallery as the source.
- Publish the page.
- It shows the newest photos first (up to 12). After each meeting, add that month’s pictures to the gallery and the page picks them up.
- It moves one photo about every five seconds, and pauses while someone points at it, touches it, or uses the keyboard on it.
- There are Previous, Pause / Play and Next buttons and a count. Visitors whose device asks for less motion see it still until they press Play.
What to upload
| Question | Answer |
|---|---|
| Formats | JPEG, PNG or WebP. |
| Size limit | 10 MB per image. |
| How big | About 2400 px on the long edge. Bigger is only slower. |
| Do I shrink it first? | No. Every upload is resized to several widths, and each visitor gets the smallest one that still looks sharp. |
| Photos of people | Ask first. Members should know their picture is on a public page. |
Make a gallery of quilts
Two ways. The page editor is simplest.
- Edit the page and Add a section → Photo gallery.
- Press Add several photos at once and select as many files as you like.
- Add alt text to each, drag to reorder, and Publish.
For a gallery you will keep adding to — a show-and-tell archive — use the Photos screen. It is hidden at first: Settings → Advanced → Show advanced features, then Photos appears under Site. Add photos takes several files at once. A gallery can be published and linked to an event.
Replace or delete
| To do this | Do this |
|---|---|
| Replace a picture | Select the section and upload a new one. The old file stays in the library. |
| Take it off a page | Remove in the image controls. The file stays in the library. |
| Delete the file for good | Documents screen (turn on Advanced) → Delete. Take it off every page first or you leave a gap. |
| Save a copy | Download sits beside Upload and Remove on every uploaded image. |
If it goes wrong
| You see | Do this |
|---|---|
| Photos looks missing from the sidebar | Settings → Advanced → Show advanced features. |
| A picture looks soft or oddly cropped | Upload a bigger original (about 2400 px) and set the Focal point. |
| A gallery page is empty | Add photos to the gallery section in the page editor, then Publish. An empty gallery section shows nothing. |
| The upload fails | Check it is under 10 MB and is JPEG, PNG or WebP. |